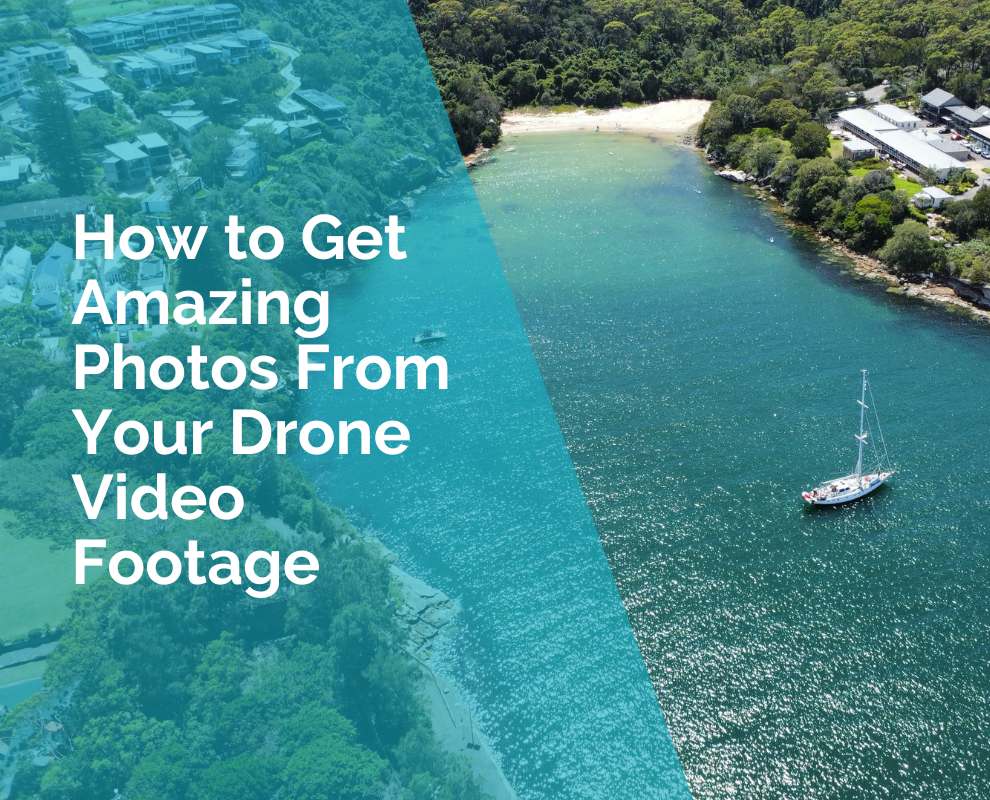
How to Organise, Store, and Back Up Your Drone Files
Because losing your best drone footage hurts more than crashing your drone.
Whether you’re flying for fun or creating content professionally, your drone captures can quickly pile up. One minute you’re importing a few clips from your beach flight, the next you’ve got dozens of folders, five SD cards, and no idea which sunset is which.
In this article, I’ll walk you through how to organise, store, and back up your drone files in a way that keeps your footage safe, searchable, and easy to edit — no matter how many flights you do.
Where Your Files are Actually Stored
When you finish a flight, your footage doesn’t just magically end up in one place — and that can be confusing. Let’s break down where your drone stores media and how to access it.
What’s Stored on the SD Card
If you’ve inserted a microSD card into your drone such as DJI Mini 2 SE, all high-quality photos and videos are saved directly to the SD card. This includes:
- Full-resolution videos (e.g. 2.7K .MP4 files)
- Full-resolution photos (.JPG or .DNG RAW if enabled)
- Panoramas and stitched shots
This is the main source of your best-quality footage. Always import from the SD card for editing or archiving. You can remove the SD card and insert it into a card reader, or connect your drone to your computer via USB-C to access it directly.
What’s Stored on Your Phone (Lower Quality Previews)
While you’re flying, the DJI Fly app creates preview versions of your photos and videos and saves them to your phone or tablet. These are:
- Lower resolution
- Compressed
- Useful for quick sharing
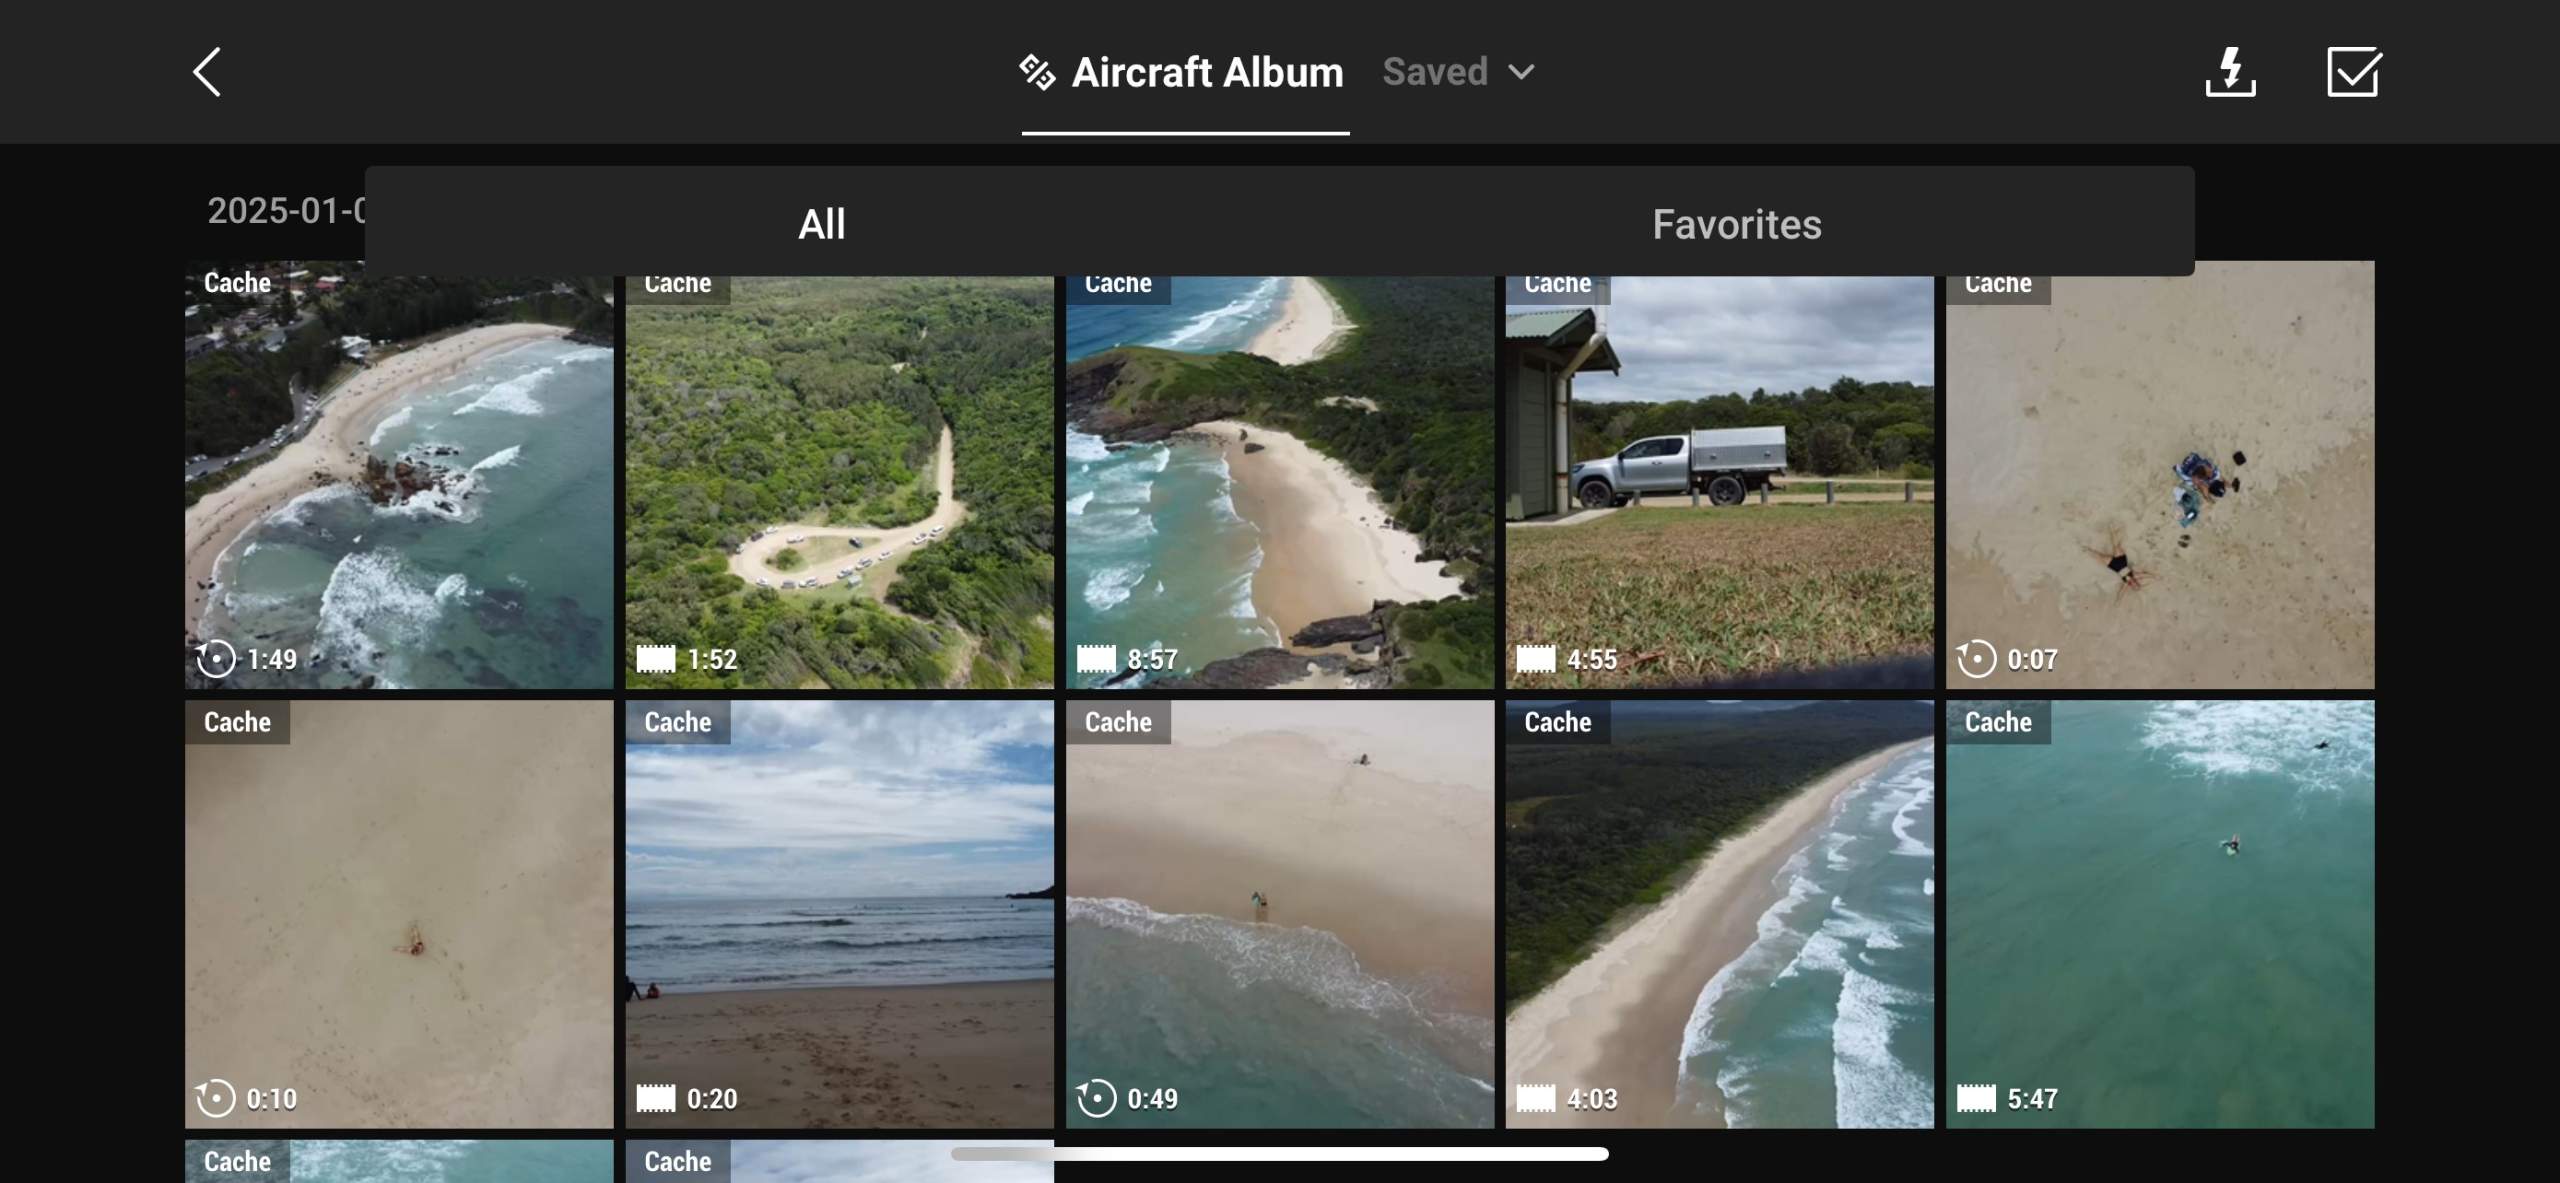
They’re found in the DJI Fly app album or your phone’s gallery, usually under “DJI Album.” These are not full-quality files — they’re for quick viewing only.
What’s Stored in the DJI Fly App Itself?
The app stores:
- Flight logs and flight paths
- Cached video footage (if enabled)
You can manage cached storage via: DJI Fly App > Profile > Settings > Cache During Recording.
Turn it off to save space, or keep it on as a quick backup.
Pro Tip: Always fly with a microSD card inserted. Without it, your drone records in lower quality and may disable advanced photo modes.
How to Transfer Drone Files: SD Card vs DJI Fly App
Transfer Files From Your Drone’s SD Card to a Computer
This method gives you full-resolution files and is ideal for editing, backing up, or archiving.
What You Need:
- Your drone’s microSD card
- A microSD to SD adapter (if needed)
- A card reader (built-in or external)
- A computer (Windows or Mac)
Step-by-Step:
- Power off your drone to safely remove the SD card.
- Eject the microSD card from the slot on the drone.
- Insert the microSD into a card reader or adapter.
- Plug the reader into your computer.
- On Windows: Open “This PC” — On Mac: Look in Finder or on your desktop.
- Open the DCIM folder — this contains your photos and videos.
- Copy the files into your organised folder system.
- Safely eject the SD card when finished.
Tip: This is the fastest and most reliable way to get your full-quality files for editing.
Transfer Files from DJI Fly App to iPhone
This method gives you access to either lower-resolution previews or lets you manually download full-resolution files from your drone using Wi-Fi.
To Save Preview Files (Cached):
- Open the DJI Fly app on your iPhone.
- Tap the Album icon (bottom right).
- Select the Phone tab — these are cached previews.
- Tap a photo or video, then tap the save or share icon.
Note: These are compressed and not full resolution — best for quick social sharing.
To Download Full-Resolution Files via the App:
- Power on your drone with the SD card inserted.
- Connect your iPhone to the controller and open DJI Fly.
- Go to Album > SD Card tab.
- Select the files you want to download.
- Tap the download icon to transfer them to your iPhone gallery.
Tip: This uses Wi-Fi from your drone to phone and can be slow — great in a pinch, but not ideal for large files or batches.
Summary: For the highest quality and easiest workflow, transfer directly from the SD card using a card reader. Use the DJI Fly app transfer if you’re travelling light or need access on the go.
How to Organise Your Files
1. Create a File Naming System That Makes Sense
One of the easiest ways to lose track of your footage is to let your drone assign generic filenames like DJI_0104.MOV or DJI_20231101_145322.JPG. These filenames mean nothing weeks or months later, especially when you’re scrolling through dozens of folders trying to find that one perfect beach flyover. Without a system, your media becomes a mess — and important shots get lost in the shuffle.
Setting up a file naming structure is a small habit that delivers big long-term benefits. It keeps your library searchable, helps you quickly scan through folders, and makes it easier to locate content when you’re ready to edit or publish. A good system also helps you distinguish between flights that might have happened on the same day but in different locations or times (e.g. morning vs afternoon).
The best naming conventions are consistent, simple, and include three key elements: the date of the flight, the location, and a short description or flight sequence. This structure helps you recall what the file contains even before opening it. And when you’re uploading content to cloud storage, video editors, or websites, a clear file name can also help with SEO and metadata tagging.
- Date of flight (e.g. 2024-11-01)
- Location (e.g. ByronBay)
- Description (e.g. SunriseFlight1)
Example: 2024-11-01_ByronBay_SunriseFlight1.mp4
2. Organise Your Footage Into Folders By Date and Location
Once your files are properly named, the next step is to store them in a folder system that makes sense — both now and in six months when you’re trying to find that perfect wave shot from last summer. The easiest and most effective system is to organise your drone footage by year, date, and location. This structure follows the natural rhythm of how we fly, making it easier to locate files based on memory, project timelines, or seasonal content.
For example, you can start with a master folder called /Drone_Footage, and inside that, create subfolders for each year. Within each year, create folders based on the date and the location of your flight. If you shoot in the same place more than once, include the time of day or a short description to tell flights apart (e.g. Sunset, RainyDay, or ClientShoot1).
This structure also makes cloud syncing and backups easier. If you’re using Google Drive, Dropbox, or an external SSD, you’ll be able to sync individual folders without dragging your whole archive across devices. Plus, when importing into editing software like Final Cut Pro or DaVinci Resolve, this level of organisation means less time hunting and more time creating.
Here’s an example layout:
/Drone_Footage
    /2024
        /2024-11-01_ByronBay_Sunrise
            /Photos
            /Videos
            /Panoramas
        /2024-10-15_Maroochydore_Afternoon
        /2024-09-02_ClontarfBeach_Flight2
Once this system is in place, it becomes second nature — and it will save you hours down the track, especially when you start building up a serious library of footage from different trips, clients, or seasons.
3. Use Tags or Labels to Highlight Your Best Shots
Even with great naming and folder structure, large volumes of footage can still become overwhelming — especially if you fly regularly or shoot extended sessions. That’s where tags, colour labels, and star ratings come in. These small actions make a huge difference when you’re trying to find your best shots for editing, client delivery, or content creation.
Most operating systems and editing tools allow you to tag files or mark them as favourites. On Mac, you can use Finder’s colour labels and tags; on Windows, file tagging is available through Explorer with some third-party tools. If you’re using editing software like Adobe Lightroom, Adobe Bridge, or DaVinci Resolve, you can apply star ratings (1–5 stars), flags, or keywords during the import or review process. Marking your keepers as you go means you won’t have to scrub through hours of footage every time you want to post to Instagram or start a new video edit.
Set your own tagging system based on what you need. For example:
- Red label = Needs editing
- Green label = Publish-ready
- 3 stars = Solid b-roll
- 5 stars = Hero shot
When you’re extracting stills from your video footage, it’s important to keep them linked to the original source. Rename them using the same date and location structure, but add _Still or _FrameGrab at the end so you can instantly identify them as screenshots rather than original photos. This helps avoid confusion when editing or exporting final files.
Using tags, labels, and ratings might feel like an extra step in the moment, but it can save you hours of frustration later — especially when you’re building a portfolio, creating reels, or trying to locate the one amazing frame from your beach shoot six months ago.
4. Store Your Files on a Dedicated External Drive
Drone footage takes up a lot of space. Even short flights can generate multiple gigabytes of high-resolution video and RAW photo files. If you’re saving everything on your laptop, it won’t be long before you’re out of room — and that slows everything down. That’s why it’s smart to invest in a dedicated external drive just for your drone media. Keeping it separate from your everyday documents and downloads helps you stay organised and protects your content from accidental deletion or clutter.
We recommend using a drive that’s at least 2TB or larger, especially if you’re capturing 2.7K or 4K footage regularly. A solid state drive (SSD) is ideal for travellers and content creators who want faster transfer speeds and more durability. If you’re editing directly from the drive, an SSD will also reduce lag and buffering compared to older spinning hard drives (HDDs).
Create a clear folder structure on the drive, and label the outside of it with the year or project name — especially if you’re using more than one. For example: “Drone Footage 2024” or “Client Work – Coastal Shoots.” This might seem like overkill, but six months from now when you’ve filled half a dozen drives, having a visible label saves a lot of guessing and reconnecting.
For extra peace of mind, consider using two drives — one for active projects and another for archiving past footage. When you finish a project or complete a shoot, move those files from your main drive to the archive to keep your working space clean and fast.
Bonus tip: Use physical labels or even colour-coded tape to distinguish different drives. This helps avoid mixing up client work with personal content or grabbing the wrong one on your way out the door.
5. Back Everything Up (Twice)
If you’ve ever lost footage — from a corrupt card, a failed drive, or accidental deletion — you know how painful it is. Unlike family photos or phone videos, drone footage is often location- and time-sensitive. You may not get another sunrise with perfect waves, that dolphin swimming by, or your friend’s wedding from the sky. That’s why a solid backup strategy is non-negotiable.
The golden rule of data safety is the 3-2-1 backup method:
- 3 copies of your data
- 2 different storage types (e.g. SSD + cloud)
- 1 offsite or cloud-based copy
Start by keeping one copy on your working external drive. Then back that up to a second drive (preferably stored separately or offsite — even at a friend’s house or studio). Finally, upload your files to a cloud service so you’re protected even if both physical drives fail due to theft, fire, or hardware issues.
Good cloud options include:
- Google Drive – good for photos and small projects
- Dropbox – useful for syncing across devices
- Backblaze – affordable, automated full-drive backups
- iDrive – another solid, reliable cloud backup tool
And yes — even SSDs fail. They’re faster and more durable than HDDs, but no hardware is invincible. Don’t leave your best drone moments vulnerable to one unlucky failure. Set up your backup routine now and automate as much as you can — future you will be extremely grateful.
6. Bonus: Keep Your Memory Cards Organised Too
As your collection of drone footage grows, so will your collection of memory cards. And without a system in place, it’s incredibly easy to lose track of what was filmed when, what’s been imported, and which cards are safe to reformat. A few simple habits can save you from accidentally deleting precious footage — or spending hours trying to find the right files.
Start by storing your cards in a labelled SD card wallet. Use physical labels, coloured stickers, or number each card with a permanent marker. Keep a small notebook (or use your phone) to log each flight: where you flew, the date, and which card the footage is on. This is especially helpful if you’re filming multiple locations on the same day or if you’re on the road with limited time to offload files.
Once you’ve transferred your footage to your drive and verified that it’s safe and backed up, reformat the card in your drone before the next flight. This clears space, reduces the risk of file corruption, and ensures your drone can write smoothly to the card. Avoid formatting cards on your computer — doing it in the drone ensures compatibility and performance.
Pro Tip: Carry at least 2–3 memory cards on every shoot. If something goes wrong with one, you’ll still be able to fly and capture content. And label full cards as “used” with a small clip, sticker, or turning them upside down in the case so you never overwrite them by mistake.
Final Thoughts: File Chaos Is Avoidable
Losing your drone is bad — losing your footage is worse. With just 10 extra minutes after each flight, you can build a reliable, searchable archive that keeps your best work safe and ready to edit. Name it. Sort it. Back it up. Future you will be so grateful.
FAQs About Organising Your Drone Files
What’s the best way to organise my drone footage?
The most effective method is to organise files by year, date, and location. For example:
/Drone_Footage/2024/2024-11-01_ByronBay_SunsetFlight.
Within each folder, you can create subfolders for Photos, Videos, and Panoramas. This structure mirrors the way drone content is captured and makes it easy to find specific footage later.
Why should I rename my files? Aren’t the default DJI names good enough?
DJI’s default filenames like DJI_0012.MP4 or DJI_0234.JPG don’t tell you anything about when or where the footage was captured.
Renaming your files using a format like 2024-11-01_ByronBay_SunsetFlight1.mp4 helps you identify clips instantly and keeps your library organised — especially when importing into editing software or backing up to cloud services.
What’s the best type of external drive for drone storage?
A 2TB (or larger) SSD (solid state drive) is ideal for speed and durability, especially if you travel or edit on the go. HDDs (hard disk drives) are cheaper and fine for backup storage, but they’re slower and more prone to physical damage. SSDs also handle 4K and 5.4K footage better when editing directly from the drive.
How many backups should I have of my drone footage?
Follow the 3-2-1 backup rule:
- Keep 3 copies of your files
- Store them on 2 types of media (e.g. SSD and cloud)
- Keep 1 offsite or cloud-based copy in case of theft, fire, or hardware failure
Use tools like Google Drive, Dropbox, Backblaze, or iDrive to automatically back up your data in the background.
Should I delete files from my memory card after each flight?
Only after you’ve transferred and confirmed your footage is backed up. Once confirmed, always reformat the card in your drone — not on your computer — to reduce file corruption and ensure compatibility. Reformatting clears space and prepares the card properly for the next shoot.
How do I manage multiple memory cards without getting confused?
Use a labelled SD card wallet and number your cards. After each flight, jot down which card you used and what was captured. You can even mark full cards by flipping them upside down in your case or tagging them with a small sticker to avoid accidental reuse before backing up.
Can I store all my footage on my iPhone or tablet?
It’s not recommended. While your phone may store cached or preview files from the DJI Fly app, these are lower resolution and compressed. Always transfer full-resolution footage from the SD card for best quality and long-term storage. Mobile devices should only be used for quick reviews or temporary access.
 ***
***
Ivana Katz is a Sydney based website designer and travel blogger. Having her own business has given her the freedom to explore the world. She believes travel is the best teacher and her passion for adventure, writing and photography has taken her and her son to some amazing places, including Hawaii, Canada, Fiji, Greece and Czech Republic. Ivana’s favourite thing about travelling is learning, discovering hidden gems and creating memories. She loves nothing more than inspiring other women to chase their dreams and explore the world with their families and friends.