Beginner Drone Flying Tips (That I Wish I Knew When I Started)
When I first unboxed my drone, I was pumped. I had visions of smooth beach flyovers and cinematic sunsets.
What I got instead? Shaky footage, panicked thumb movements, and a near-miss with a tree. The truth is, learning to fly a drone takes more than just reading the manual (though yes, you should actually read the manual).
So here it is — the list of things I wish someone had told me before I launched for the first time.
1. Flying is Easy… Until It Isn’t
Modern drones do an amazing job of making flying feel effortless — especially when you’re hovering over a grassy field in perfect weather with GPS lock and a full battery. The first time I took off, I was honestly blown away by how stable the drone felt. It just sat there in the air like it was glued to an invisible tripod. I thought, “This is way easier than I expected.”
But here’s the thing — drones are only easy when everything is working perfectly. Throw in a bit of wind, a GPS delay, or a tree branch just out of view, and suddenly your smooth hover becomes a mid-air panic attack. Things like losing orientation (not knowing which way the drone is facing), drifting due to compass interference, or trying to land with 9% battery left — these are the real challenges that catch beginners off guard.
That’s why your first few flights should be slow, close, and boring — and that’s not an insult. It’s the smartest way to learn. Don’t head for the cliffs or fly out over water on Day One. Instead, give yourself space to get a feel for the controls, understand how your drone responds, and build the reflexes that will help you handle those “not-so-easy” moments with calm instead of chaos.
2. Stick Mode Matters More Than You Think
Stick mode might sound like a minor setting, but it can dramatically affect how you learn. Most drones come pre-set to Mode 2, where the left stick controls altitude and rotation, and the right stick controls movement. If you’re used to video games, this might feel familiar. But some people switch to other modes based on preference or what they learned first — and that’s totally fine.
The key is consistency. Once you choose a stick mode, don’t keep changing it. Your muscle memory is your best friend when things get tricky, and flipping between modes will only confuse your brain when it matters most. Learn it once, stick with it (pun intended), and your confidence will grow with every flight.
If you’re not sure what works best for you, try all the modes out briefly in a safe environment — then commit to one. This early decision saves a lot of frustration down the line.
3. Wind is a Sneaky Beast
You might not notice a light breeze when you’re on the ground, but once your drone’s in the air, it can push your craft off course — fast. Drones like the Mini 2 SE and Mini 4K are light and agile, but that also makes them more vulnerable to even mild wind gusts. One moment you’re flying straight, and the next you’re compensating for sideways drift or battling return-to-home struggles.
The best tip? Don’t rely on “gut feel” for the weather. Use apps like UAV Forecast or OpenSky to get wind speed at flying altitude. A calm day at ground level might still mean 20–30 km/h gusts 40 metres up. Avoid launching if the wind is stronger than your drone’s rated resistance — and remember that strong wind drains batteries faster.
Flying into the wind on the way out is a great strategy, so your drone has an easier time returning. And if you ever think, “It’s probably fine,” that’s your cue to pack up and wait for better conditions.
4. Flying Too Far, Too Soon is the #1 Rookie Mistake
It’s tempting, I know. The first time you realise your drone can fly 2km away, your brain lights up with “How far can I push this?” curiosity. But distance is one of the fastest ways for new pilots to get into trouble. If you’re still getting comfortable with basic orientation and controls, flying too far too soon is asking for stress — or worse, a flyaway.
Begin by flying within a range where you can still clearly see your drone without relying on the screen. This keeps your reactions faster and helps you stay aware of your surroundings. When you fly far out and then turn the drone to fly home, the controls can feel reversed if you’re not used to it — which leads to disorientation and mistakes.
Master basic manoeuvres close to home before you explore long distances. Practice flying toward yourself, circling, and handling minor wind shifts. Once those movements feel second nature, you’ll be ready to stretch out — safely and confidently. Related: How to Improve Your Drone Flying Skills
5. Don’t Ignore Return-to-Home Settings
Return-to-Home (RTH) is one of the best safety features drones offer — but only if it’s set up properly. A lot of beginners take off assuming the drone will know what to do in an emergency, only to watch it fly straight into a tree or power pole on the way back. That’s not a drone problem — that’s a setup problem.
Before each flight, make sure your drone has a GPS lock and that the home point has been recorded correctly. Then, check your RTH altitude. If it’s too low, your drone may try to return through obstacles instead of over them. Set it at least 30–50 metres above the tallest object nearby — more if you’re near hills or buildings.
It’s also smart to test RTH in a controlled environment before relying on it in a real situation. Knowing how your drone behaves when RTH is triggered gives you peace of mind and helps you handle emergencies without panic.
6. Smooth Footage Comes from Slow Fingers
One of the biggest surprises for new drone pilots is how fast even tiny stick movements can affect footage. If you’re recording video, the goal is smooth, cinematic motion — and that means going much slower than your instincts tell you. Gentle arcs, slow reveals, and wide pans all take patience and control.
Instead of darting left and right, try holding a steady movement across the landscape. Combine slight camera tilt with horizontal movement to create that “floating camera” feel. Practise “flying with purpose” — don’t just wander through the air, think about where the drone is going and how the shot will look.
If your drone has cinematic or tripod modes, use them. They reduce stick sensitivity and make smooth flying easier. And don’t worry if your footage feels too slow — you can always speed it up later. You can’t fix jerky shots in post. Related: How to Take Stunning Drone Photos
7. Practice Before the Pretty Spots
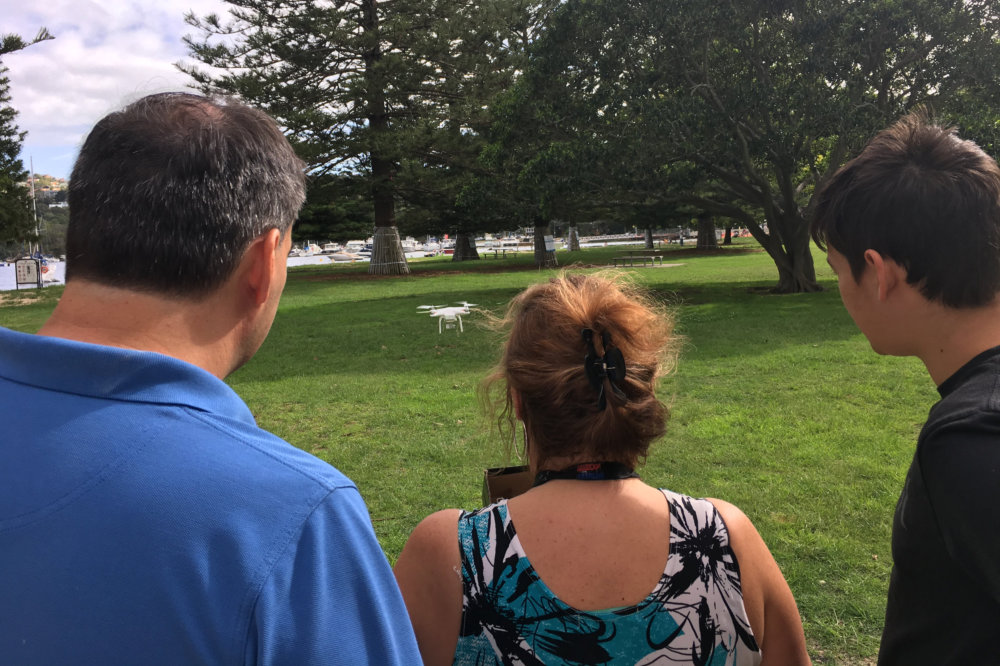
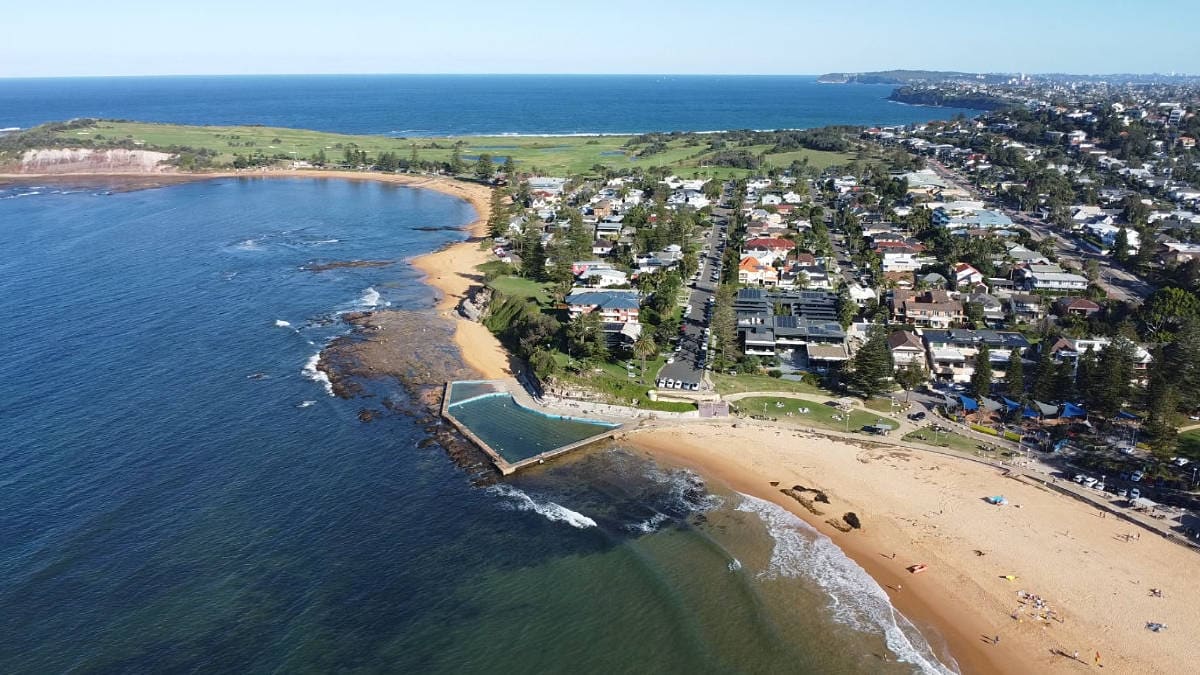
It’s natural to want your first drone flight to be somewhere epic — like over a beach, a cliff, or a waterfall. But beautiful locations also bring more risk: wind, distractions, and obstacles. When you’re still learning how your drone handles, you’re better off flying somewhere completely boring.
Find a wide-open park, oval, or field with no trees, no people, and no pressure. Use this space to practise take-offs, landings, hovering at different heights, and flying basic shapes (like squares and figure 8s). These are the flight skills you’ll rely on when you eventually hit those scenic spots — and you’ll enjoy them a lot more when you’re confident with the controls.
It’s also a great time to test how your drone behaves when the battery drops, how stable your video looks, and how your phone and app respond during flight. Treat practice like a safety net — the more you train in calm conditions, the better you’ll perform when things get exciting. Related: Places for Beginner Drone Pilots to Practise
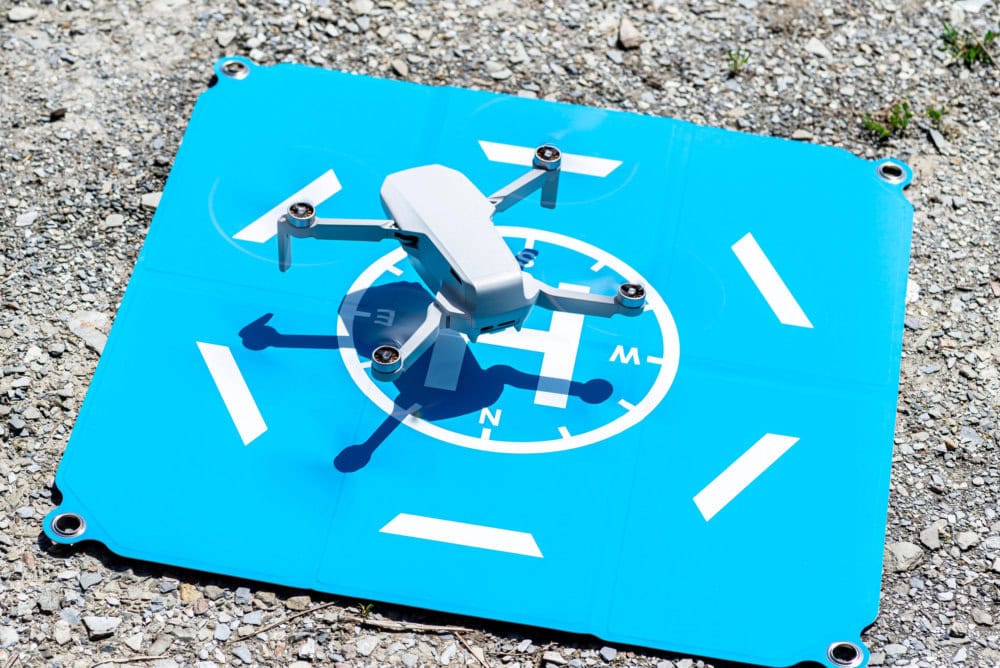
8. Don’t Launch From Sand or Gravel Without a Landing Pad
It only takes one gust of wind to blow sand into your motors — and that’s a quick way to shorten your drone’s life.
If you’re flying from sand, gravel, dirt, or long grass, always use a landing pad or a clean, hard surface. A landing pad is one of the cheapest accessories you can buy, and it saves you from gritty takeoffs, messy landings, and awkward balancing acts on your backpack or esky lid.
You can also launch from your drone case, the roof of your car, or even a sturdy clipboard if you’re in a pinch. Just make sure the surface is flat, clean, and gives your propellers space to spin up safely. Related: Drones and Accessories
9. Keep One Eye on the Battery — Always
Beginner pilots tend to fixate on the camera feed and forget to monitor their battery. But once your drone hits low-power mode, things can change fast — altitude may be restricted, speed drops, and the drone might auto-land whether you’re ready or not.
The golden rule? Land when your battery hits 25–30%. Don’t push it to the warning zone unless you’re very close to your home point and know your drone’s behaviour well. Battery indicators aren’t always perfectly accurate — especially in wind or cold temperatures.
Also, always start with a full charge and make sure your phone or controller is well powered. There’s nothing worse than a perfect flight ruined by a phone that dies just before landing. Related: Drone Battery Tips
10. Crashing is (Almost) Inevitable — Learn From It
No one wants to crash, but if you fly long enough, it’s bound to happen. Whether it’s a slow-motion tip-over during landing or a dramatic tree encounter, the key is to treat crashes as part of the learning curve — not a reason to quit.
After any crash, inspect your drone thoroughly. Check for chipped propellers, cracked arms, loose gimbals, or camera errors. Even a small crack can affect stability or image quality. Replace damaged parts before flying again and recalibrate if needed.
The best pilots aren’t the ones who’ve never crashed — they’re the ones who’ve crashed, learned from it, and kept flying smarter. Mistakes teach you where your limits are and how to prepare better next time. Related: What to Do if You Crash Your Drone
Know Where You Can Fly (Legally)
Australia has clear drone laws — and ignoring them can land you in hot water. Use apps like OpenSky or CASA’s “Can I Fly There?” to check your location. Even open beaches and remote parks may fall under restricted airspace or nature protection zones.
Key rules to follow include:
- Stay under 120m altitude
- Don’t fly over people
- Don’t fly near airports or helipads
- Always keep your drone in sight
Following these rules helps protect your gear, your footage, and your reputation as a drone pilot. Related: Where Can You Fly a Drone?
Ready to Level Up?
Once you’ve mastered the basics and your thumbs no longer shake at take-off, it’s time to explore new locations, capture stunning footage, and maybe even turn your hobby into something more.
To help you fly smarter and shoot better, check out our handpicked resources and location guides — complete with tips, GPS spots, and photography advice from the field.
FAQs About Beginner Drone Flying
What is the best place to practise flying a drone as a beginner?
Start in a wide-open space like a park, sports field, or empty oval — away from trees, people, buildings, and water. Avoid visually busy locations or places with strong wind. The calmer and more predictable your environment, the easier it is to learn the basics without stress. Here’s a list of great places to start: Places for Beginner Drone Pilots to Practise
How high and far can I fly a drone in Australia?
According to CASA regulations, you must fly below 120 metres (400 feet) above ground level. You should always keep your drone within visual line of sight — meaning you can see it with your own eyes (not just on the screen). Flying beyond that may be illegal unless you have a special license or exemption.
How do I know if it’s too windy to fly my drone?
Even if the weather feels calm on the ground, wind speed can be much stronger at higher altitudes. If you’re flying a lightweight drone like the DJI Mini 2 SE or Mini 4K, avoid flying in wind speeds over 20 km/h. Use apps like OpenSky or UAV Forecast to check real-time wind data before flying.
Related: How to Read the Weather Before You Fly
What should I do if my drone loses connection mid-flight?
Most modern drones (like DJI models) have an automatic Return-to-Home (RTH) feature. If your drone loses signal, it should climb to the preset RTH altitude and return to its takeoff location. That said, you must always check your RTH settings before flying to make sure the altitude is high enough to clear any trees or obstacles.
Do I need a license or registration to fly my drone in Australia?
If your drone weighs under 250g (like the DJI Mini 2 SE or Mini 4 Pro) and you’re flying for fun, you don’t need a license or to register your drone. If your drone is 250g or more, or you’re flying commercially, you’ll need to register it and possibly obtain an operator accreditation from CASA.
How long should I fly during a practice session?
For beginners, start with short, focused flights — around 5 to 10 minutes each. Practise simple moves, takeoffs, and landings, then gradually increase your flight time as you build skill and confidence. Avoid draining your battery too low — try to land at 25–30% battery to stay safe.
What’s the most common mistake new drone pilots make?
The most common beginner mistake is flying too far, too fast — often without knowing how to bring the drone back when it’s facing the opposite direction. Other top errors include launching from unsafe surfaces, flying in poor weather, or ignoring RTH and battery warnings.
Do I need special accessories when starting out?
You don’t need everything at once, but a few accessories will make your life much easier:
-
Landing pad (especially for sand or grass)
-
Spare batteries
-
Memory cards (U3/V30 minimum for 4K footage)
-
Carrying case
Explore more here: Drones and Accessories
 ***
***
Ivana Katz is a Sydney based website designer and travel blogger. Having her own business has given her the freedom to explore the world. She believes travel is the best teacher and her passion for adventure, writing and photography has taken her and her son to some amazing places, including Hawaii, Canada, Fiji, Greece and Czech Republic. Ivana’s favourite thing about travelling is learning, discovering hidden gems and creating memories. She loves nothing more than inspiring other women to chase their dreams and explore the world with their families and friends.