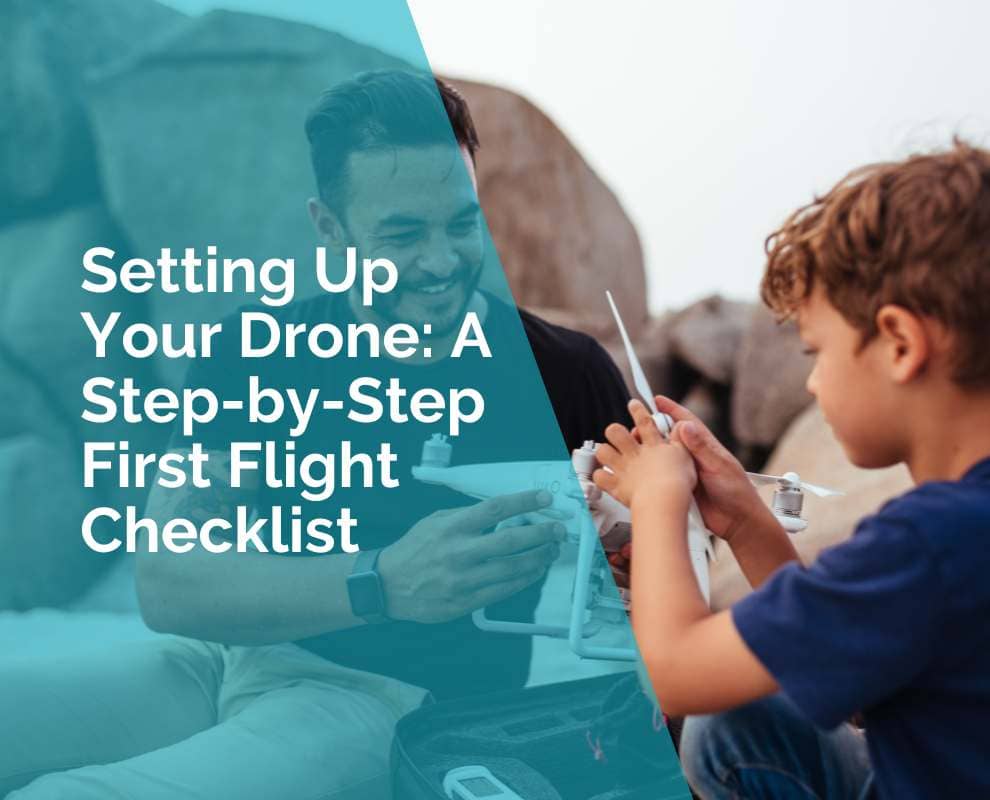
How to Choose Your First Drone (Ultimate Beginners Guide)
Thinking about buying your first drone?
Welcome to the club!
You’re about to unlock a whole new world — soaring above beaches, snapping jaw-dropping sunsets, or filming epic holiday moments (and maybe a few funny crash landings).
But first… you have to survive the endless rabbit hole of drone specs, brands, YouTube reviews, and random strangers on forums arguing about battery life.
Good news: Choosing your first drone doesn’t have to be overwhelming. It can actually be fun (and way cheaper than replacing a drone you regret buying later).
Let’s dive in — with real advice, cheeky tips, and everything you actually need to know to pick the perfect flying buddy.
What’s Your Flying Style?
Before you even look at a drone, stop and think: “Where and why do I want to fly?”
| If You Want To… | Look For… |
|---|---|
| Capture epic travel photos | Lightweight drones with great cameras (under 250g ideal) |
| Film beach adventures | Good wind resistance, stable hover, 4K video |
| Fly just for fun | Affordable drones with GPS stability, easy controls |
| Post epic Instagram reels | Drones with vertical shooting modes |
| Race or freestyle flip | FPV drones (not ideal for first-timers!) |
Pro Tip: If you’re 95% sure you’ll mainly fly on holidays, weight and portability should be your top priority.
Related: 10 Creative Ways to Use Your Drone Footage
Best Drones for Beginners (Compared)
DJI Mini 2 SE
- Price: ~$600 AUD
- Camera: 2.7K video
- Flight Time: 31 minutes
- Weight: 249g
- Why It’s Great: Lightweight, stable, and one of the best-value beginner drones.
DJI Mini 3
- Price: ~$950 AUD
- Camera: 4K HDR video with vertical shooting mode
- Flight Time: 38 minutes
- Weight: 249g
- Why It’s Great: Longer battery life and perfect for Instagram or TikTok content.
DJI Air 2S
- Price: ~$1500 AUD
- Camera: 5.4K video, 1-inch CMOS sensor
- Flight Time: 31 minutes
- Weight: 595g
- Why It’s Great: Stunning image quality and built-in obstacle avoidance sensors — a semi-pro dream.
Autel Evo Nano+
- Price: ~$1200 AUD
- Camera: 4K video, f/1.9 lens with RYYB sensor
- Flight Time: 28 minutes
- Weight: 249g
- Why It’s Great: Excellent in low-light conditions, super stable hover, and a DJI alternative that holds its own.
Ryze Tello (Budget Pick)
- Price: ~$180 AUD
- Camera: 720p video
- Flight Time: 13 minutes
- Weight: 80g
- Why It’s Great: Great for indoor practice and learning basic flight controls — not for filming your travels.
Pro Tip:
Buy official batteries. Cheap knockoffs can make your drone think it’s dying mid-air.
The Features You MUST Have
GPS Stability
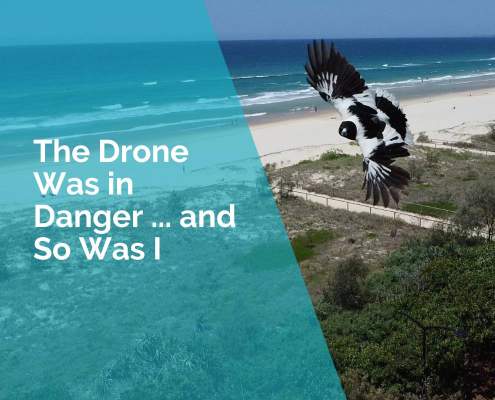
If your drone doesn’t have GPS, you’re basically flying a leaf in the wind. GPS stabilisation is one of the most important features for new pilots — it helps your drone hover in place even if you let go of the controls. That means if you get flustered or distracted (say, by a seagull giving you attitude), your drone won’t drift off into the neighbour’s pool. It’ll just stay put and wait patiently.
For beginners, this is the difference between a confident first flight and a disaster. It also makes it easier to compose shots while filming or photographing, since you’re not constantly battling to hold position manually. Look for drones that specifically say they have “GPS-based hover” or “dual-satellite positioning” — it’s not a luxury; it’s your digital safety net.
Return-to-Home (RTH) Button
This is your panic button — and you’re going to love it. The Return-to-Home (RTH) function automatically flies your drone back to its take-off point if the battery gets too low, the signal drops out, or you manually trigger it. It’s your drone’s way of saying, “Don’t worry, I’ve got this.”
However, not all RTH functions are created equal. Some drones allow you to customise how your drone behaves on return — for example, climbing to a specific altitude before flying home to avoid trees or buildings. Make sure to test your RTH in a safe area before you need it in an emergency. And don’t forget to wait for your drone to lock its GPS signal before taking off — otherwise, it might “return” to somewhere in the next suburb.
Decent Camera (At Least 2.7K)
Even if you don’t think you’ll use the footage much, trust me — once you start flying, you’ll want to relive every epic moment. A 2.7K camera gives you sharp, vibrant footage that looks great on phones, computers, and social media. 4K is ideal, but 2.7K is a solid sweet spot for beginners who want quality without file sizes so large they clog your SD card by lunchtime.
Also consider whether the drone has a gimbal (the little stabiliser that keeps your footage smooth). A 3-axis gimbal paired with a decent resolution makes a huge difference to the final quality — nobody wants wobbly footage that looks like it was filmed during an earthquake. Bottom line: get a drone with at least 2.7K video and a gimbal, and you’ll be thrilled with your results.
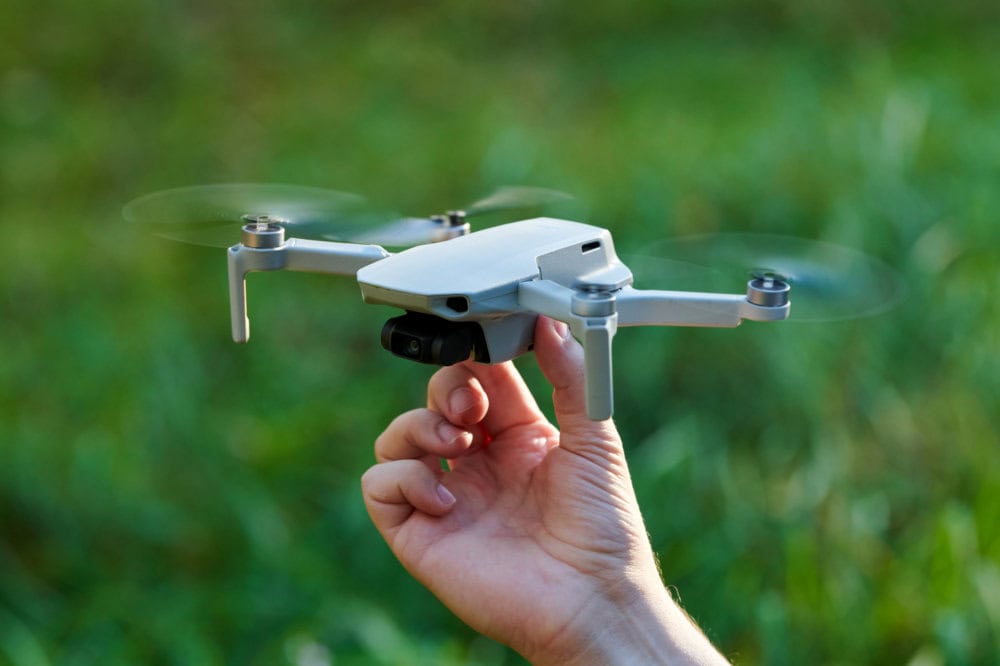
25+ Minutes Flight Time
Time flies when… well, when your drone does. Most first flights feel like they last five minutes, even if the clock says 25. That’s why battery life matters more than you might think. Drones that offer 25 minutes or more of flight time give you space to relax, experiment, and learn without rushing to land every few minutes.
Keep in mind that advertised flight times are based on perfect, no-wind conditions. In real life — with light breezes, recording video, and doing more than just hovering — expect 20–22 minutes at best. That’s why most experienced pilots carry at least two batteries (three if you’re serious about exploring). Battery anxiety is real — don’t let it cut your flights short.
Weight Under 250g (If Possible)
If your drone weighs less than 250 grams, you’ve just made your life a whole lot easier — especially in Australia. CASA (the Civil Aviation Safety Authority) currently exempts sub-250g drones from some of the stricter rules around licensing and registration for recreational flyers. You still need to follow safety guidelines, but it’s a lot less paperwork and stress.
These lighter drones are also easier to travel with — they fit in your backpack, don’t require special hard cases, and are less intimidating to fly in public. That said, they can be more vulnerable to strong wind, so be cautious on gusty days. Drones like the DJI Mini 2 SE and Mini 3 pack a ton of capability into a sub-250g frame — making them perfect first drones for Aussie adventurers.
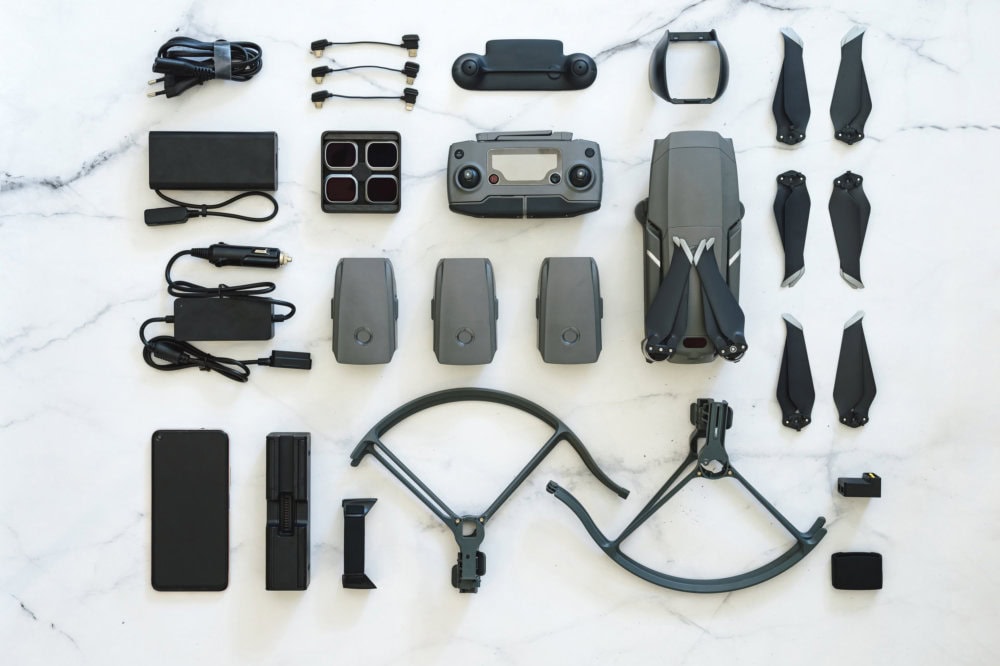
Gear You’ll Actually Want
Spare Batteries
Two batteries = double the fun. Three = you’re a legend.
Memory Cards (U3 or Faster)
Cheap cards = corrupted footage.
Hard-Shell Case
Protects your drone from backseat disasters and beach sand.
Landing Pad
Saves you from sand, mud, and rocks. Sounds nerdy — totally worth it.
More: Best Drone Accessories for Beginners
Australian Drone Rules
Before you launch into the skies like a modern-day Maverick, it’s worth knowing that Australia has pretty clear drone rules — and yes, they apply even if you’re “just flying for fun.” CASA (that’s the Civil Aviation Safety Authority) sets the standards to help everyone enjoy the skies safely. So, before you end up featured in someone else’s viral TikTok for the wrong reasons, here’s what you need to know:
1. Keep Your Drone At Least 30 Metres Away From People
This one’s non-negotiable. If your drone comes closer than 30 metres to someone who isn’t part of your flight operation (aka: your mates helping you fly), you’re breaking the rules. No flying near joggers, sunbathers, wedding guests, or anyone who didn’t ask to be part of your aerial masterpiece. It’s about safety — and let’s be honest, no one wants a surprise haircut from a spinning propeller.
2. Fly Below 120 Metres (400 Feet)
There’s a reason drones are capped at 120 metres — you’re sharing the sky with actual aircraft. Anything above that, and you’re veering into airspace reserved for helicopters, planes, and the occasional skydiver who doesn’t want to meet your drone mid-fall. Keep it under 120 metres, and you’ll stay legal (and avoid mid-air dramas).
3. Don’t Fly Over People or Crowds
That awesome overhead shot of a music festival? Not allowed. Flying over groups of people — like at beaches, sporting events, or outdoor markets — is a big no-no. Even if your drone is behaving, things can go wrong fast, and there’s no emergency landing pad in the middle of a picnic blanket. Always fly beside the action, not over it.
4. Keep Your Drone in Visual Line of Sight
If you can’t see your drone with your own eyes, you shouldn’t be flying it. “Line of sight” means no peeking through the controller screen or your phone — you need to physically see where your drone is at all times. If it disappears behind a tree or over a hill, it’s time to bring it back. Out of sight = out of control.
5. Only One Drone in the Air at a Time
Multitasking is great… just not when it comes to flying aircraft. CASA rules state that recreational flyers can only operate one drone at a time. If you’ve got multiple drones and you’re itching to do a choreographed air ballet, you’ll need a proper operator accreditation (and nerves of steel).
6. Don’t Fly Near Emergency Situations
This includes bushfires, car accidents, flood zones, or search and rescue operations. Not only is it dangerous, but it’s also illegal — and emergency services don’t need to deal with your drone while trying to save lives. CASA has fined people thousands of dollars for interfering with emergency aircraft. Don’t be that person.
7. Watch Out for No-Fly Zones
National parks, airports, military areas, and even some city zones are off-limits for drones. Before you fly, always check a drone safety app (like OpenSky or CASA’s “Can I Fly There?”). Many beautiful-looking locations — especially along the coast — are actually restricted. Just because it’s pretty doesn’t mean you can fly there.
8. Fly Only During the Day and in Clear Weather
No night flights, fog, or “I think I can see it” missions. Drones must be flown in daylight and with good visibility. CASA wants you to be able to spot your drone and any other aircraft that might share the airspace. Save the starry night shots for when you’re shooting from the ground — or using legal lighting with advanced accreditation.
9. Don’t Fly Near Airports or Helicopter Landing Pads
This one’s huge. Stay at least 5.5 kilometres away from a controlled airport unless you have special approval. That includes regional airports and even some hospital helipads. A drone colliding with a plane or rescue chopper could be catastrophic — and yes, people have lost their drones and received heavy fines for getting too close. Always check your flight zone before launching.
The takeaway? Know the rules, fly smart, and respect the shared skies. CASA isn’t out to ruin your fun — but they will absolutely ruin your day if you ignore the basics. Plus, knowing the rules makes you a better pilot. And that’s exactly what we’re here for.
Need help finding legal, gorgeous places to fly? Check out our Drone Guides — they’re packed with safe zones, scenic tips, and cheeky wisdom from a real-world flyer (yep, that’s me).
<
Rookie Mistakes to Avoid
Everyone makes mistakes when learning to fly — that’s part of the journey. But some rookie blunders are more painful (or expensive) than others. Here’s a deep dive into the most common (and totally avoidable) beginner drone mistakes — with honest lessons from experience, not theory.
1. Taking Off Without a GPS Lock
Picture this: you’re excited, the sun’s shining, and you just want to fly already. So you fire up your drone and hit launch… but you skipped the most important step: waiting for your drone to lock onto GPS satellites. Without a GPS lock, your drone has no idea where “home” is — which means if you lose signal or press Return-to-Home, it might head for the hills… literally.
Always wait for a full GPS lock (usually takes 30–90 seconds). You’ll often see a notification like “Home Point Updated” — that’s your green light.
Bonus: if you wait for GPS, your drone can hover more accurately and hold its position better, especially in wind.
2. Ignoring the Return-to-Home Settings
Most drones come with Return-to-Home (RTH) pre-configured — but it doesn’t mean the settings are safe for your flying environment. By default, your drone might be set to return at 20 metres altitude — great in a flat park, not so great if you took off near trees, hills, or light poles.
Before every flight, check your RTH height and set it well above the highest object in the area (30–50m is a good start). Also double-check that the home point is correct — especially if you’re taking off from a moving location like a boat or the back of a car. RTH is your safety net — but it only works if you set it up properly.
3. Flying Too Far, Too Soon
The temptation to push distance is real — you want to see how far you can go, how cool the view is from way out there. But many beginner crashes (or lost drones) happen because pilots fly way too far on their first few outings. Signals drop. Batteries drain. And panic sets in when the drone is a tiny spec on the horizon and you’re not sure which direction it’s facing.
Start small. Practice keeping your drone within 100–200 metres. Get familiar with how it looks and sounds at different distances. Learn to read battery levels and signal strength early — before you need them mid-panic. Once you’re confident flying close, you can gradually expand your radius with purpose — not guesswork.
4. Forgetting to Format Your Memory Card
This one stings. You finally nail the perfect golden-hour beach shot, rush home to import the footage — and nothing’s there. Or worse, the files are corrupt. Why? Because you reused an old memory card without formatting it for your drone.
Always format your microSD card in the drone itself before each new flight day. It clears clutter, prevents file system errors, and ensures everything’s written in a way your drone understands. Don’t rely on dragging files to the trash on your computer — that doesn’t fully prepare the card for high-quality video recording. (Trust me: better to delete 60GB of test footage than lose one epic sunrise shot.)
5. Underestimating the Wind
What feels like a pleasant breeze at ground level can become a serious problem 30 metres up. Lightweight drones — especially sub-250g models — are more affected by wind than you’d expect. Gusts can push your drone off course, drain your battery faster, and even overpower its ability to return to home.
Check wind conditions before you fly (apps like UAV Forecast are gold). Avoid flying in anything over 20–25 km/h until you’re more experienced. If your drone starts drifting or struggling to hold position, land quickly and safely. Wind doesn’t just ruin footage — it can end flights permanently.
6. Forgetting to Update Firmware and the App
Firmware updates might feel like a hassle, but they exist for a reason: fixing bugs, improving safety, and keeping your drone compatible with newer devices. Flying with outdated firmware can lead to connectivity issues, glitches, or even errors during flight. And if your app is out of date, your phone may crash mid-flight — not ideal when you’re depending on it for navigation or camera control.
Before heading out, check for firmware updates for both your drone and controller. Do them at home, with stable Wi-Fi — not in the field. And update your app through the App Store or Google Play regularly. You don’t want to discover a new firmware requirement while standing barefoot on a windy cliff with 5% battery left.
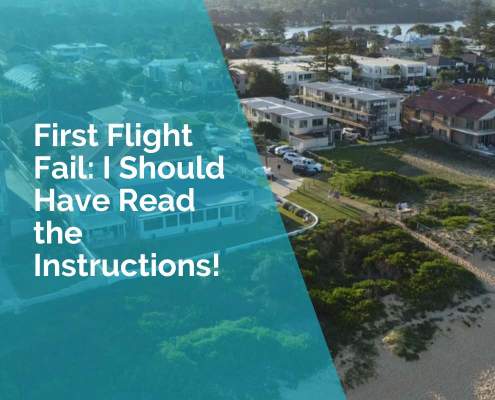
7. Skipping the Pre-Flight Checklist
Pre-flight rituals aren’t just for airline pilots. Skipping basic checks can lead to major headaches (or cracked propellers). Every time you fly, do a quick checklist: batteries charged, props tightened, memory card formatted, RTH height set, GPS locked, compass calibrated (if needed), and controller connected properly.
It takes less than two minutes and can prevent the majority of avoidable accidents. Better to feel a little nerdy doing a checklist than devastated watching your drone disappear into a tree because one prop wasn’t locked in place.
8. Landing Too Close to Water, Sand or Gravel
That scenic water-edge landing might look cool, but it’s risky business. Fine sand and dust can be sucked into motors on takeoff and landing. Water spray or wet grass can splash the drone’s belly, causing corrosion or electrical issues later on. And even a tiny slip on a pebble-strewn path can end in a cracked arm or broken gimbal.
Use a landing pad if you’re on unpredictable terrain. Or, if space allows, hand-catch the drone — but only after you’ve practiced and feel confident doing it. Landing on smooth, dry, flat ground is always the safest bet. Drones don’t bounce. Trust me.
9. Relying Too Much on Auto Settings
Auto modes are great for beginners — they keep flying simple and let you focus on not crashing. But relying entirely on auto can limit your creativity and control, especially when filming or photographing. Features like auto exposure or auto white balance can shift mid-shot and ruin consistency.
As you build confidence, start experimenting with manual camera controls. Lock exposure. Set your own ISO. Adjust the gimbal speed for smoother pans. Learning manual control doesn’t just make your footage look better — it makes you a better pilot. Start slow, but start learning.
10. Panicking When Things Go Wrong
Every drone pilot eventually experiences an “uh-oh” moment — wind, low battery, signal loss, or unexpected obstacles. The biggest mistake? Panicking. Hitting random buttons, over-correcting, or trying to land in a rush often causes more problems than the situation itself.
When in doubt: breathe. Let go of the sticks. Watch how the drone behaves. Often, doing less is better. Most drones will hover in place if you stop giving inputs. If you’re unsure, activate Return-to-Home and let it come back to you. Calm pilots recover better — and your drone will thank you for it.
In the end, mistakes are part of learning — but if you can avoid the most common ones, you’ll save time, money, and a whole lot of stress. Fly smart, fly safe, and don’t forget to laugh at yourself now and then. We’ve all been there.
Want more helpful tips? Check out the Beginner Drone Flying Tips guide or explore real flying locations with our AdventureHQ Drone Guides.
Wrapping Up: Your First Flight Awaits
Choosing your first drone isn’t about the fanciest specs — it’s about finding the one that matches your adventures, fits your skill level, and makes flying fun.
Start simple. Fly often. Crash gently. Learn lots.
And when you’re ready to level up and explore stunning locations, check out the AdventureHQ Drone Guides — your go-to resource for epic flying spots, photo tips, and more.
FAQs About Choosing Your First Drone
What happens if I fly without checking Return-to-Home settings?
You’re basically rolling the dice. Many drones default to returning at a low altitude — like 20 metres — which could send them straight into trees, buildings, or light poles if you’re not careful. Always check and set your RTH height to something safely above your surroundings (30 to 50 metres is usually good). Also, make sure the home point is accurate — especially if you’ve moved since powering on.
How far should I fly as a beginner?
Start small — seriously. It’s tempting to see how far your drone can go, but long-distance flights come with risks: signal drops, battery anxiety, and losing orientation. Stick within 100–200 metres until you’re confident managing flight direction, reading the app telemetry, and returning smoothly. Better to master short flights first than explain to your family why your brand-new drone is now an ocean reef decoration.
Do I need a landing pad, or is that just for fancy pilots?
You don’t need one, but you’ll wish you had one the first time you take off from sandy or rocky ground. A landing pad protects your drone from dust, mud, and small stones being sucked into the motors. It also gives your drone’s vision sensors a clear surface to recognise — especially important when landing on uneven terrain. Bonus: it makes you look very pro, even if you’re still figuring things out.
Should I learn manual camera settings or just stick to auto?
Auto is fine at first, especially when you’re still getting the hang of flying. But over time, switching to manual camera controls gives you more creative control — especially for photos and cinematic video. You’ll get more consistent results, better exposure in tricky lighting, and sharper footage overall. Don’t worry about learning it all at once. Start by locking exposure and ISO, then work your way into adjusting shutter speed and colour profiles later.
Why does everyone talk about wind so much? Is it really that bad?
Absolutely. Wind is the silent enemy of lightweight drones — and it’s way stronger at altitude than at ground level. Even a gentle breeze on the beach can turn into a battery-draining battle at 40 metres up. Lightweight drones (under 250g) especially struggle to return in strong headwinds. Always check wind conditions with a drone weather app, and don’t fly if it’s gusty or unpredictable. Wind has ended more beginner flights than crashes ever did.
Is there an ideal beginner drone that helps avoid rookie mistakes?
Yes — something like the DJI Mini 2 SE or Mini 3 is perfect. They’re small, stable, come with GPS, Return-to-Home, and great cameras, but don’t overwhelm you with features. Avoid anything without GPS (like toy drones) when you’re starting out — they’re twitchy and don’t hover properly, which makes learning way harder. Choose something designed for beginners, and your learning curve will be 10x smoother.
How can I practice without risking expensive mistakes?
Find a wide open space — like a sports oval or empty beach — and focus on basic manoeuvres: takeoff, hover, gentle turns, smooth landings. Practice flying square patterns and figure-eights, then try keeping the drone facing the same direction while moving it around (called “flying nose-in”). Use beginner mode if your drone has one, and don’t rush into flying over water, cliffs, or tight gaps. Save the epic shots for when you’ve got the basics nailed.
What should I do if I crash my drone?
First, don’t panic — it happens to everyone. Power it off immediately to prevent further damage. Check the arms, propellers, and gimbal for cracks or misalignment. Most minor crashes just require a propeller swap. But if you’ve damaged the camera or motors, contact the manufacturer for repair options. If it landed in water… well, remove the battery, don’t power it on, and try the rice trick — but results may vary. Also, read our full guide on what to do after a drone crash (linked below).
Do I really need to update my drone firmware and app?
Yep. As boring as it sounds, keeping your drone’s firmware and flight app updated is essential. These updates fix bugs, improve battery and signal stability, and keep your drone compatible with newer phones. Plus, some updates include new features (bonus!). Just don’t try to update your firmware in the field — do it at home with Wi-Fi, a charger, and time to troubleshoot if needed.
Want more help flying confidently?
Check out:
-
And of course… Drone Guides to find epic places to fly (without rookie regret).
 ***
***
Ivana Katz is a Sydney based website designer and travel blogger. Having her own business has given her the freedom to explore the world. She believes travel is the best teacher and her passion for adventure, writing and photography has taken her and her son to some amazing places, including Hawaii, Canada, Fiji, Greece and Czech Republic. Ivana’s favourite thing about travelling is learning, discovering hidden gems and creating memories. She loves nothing more than inspiring other women to chase their dreams and explore the world with their families and friends.